
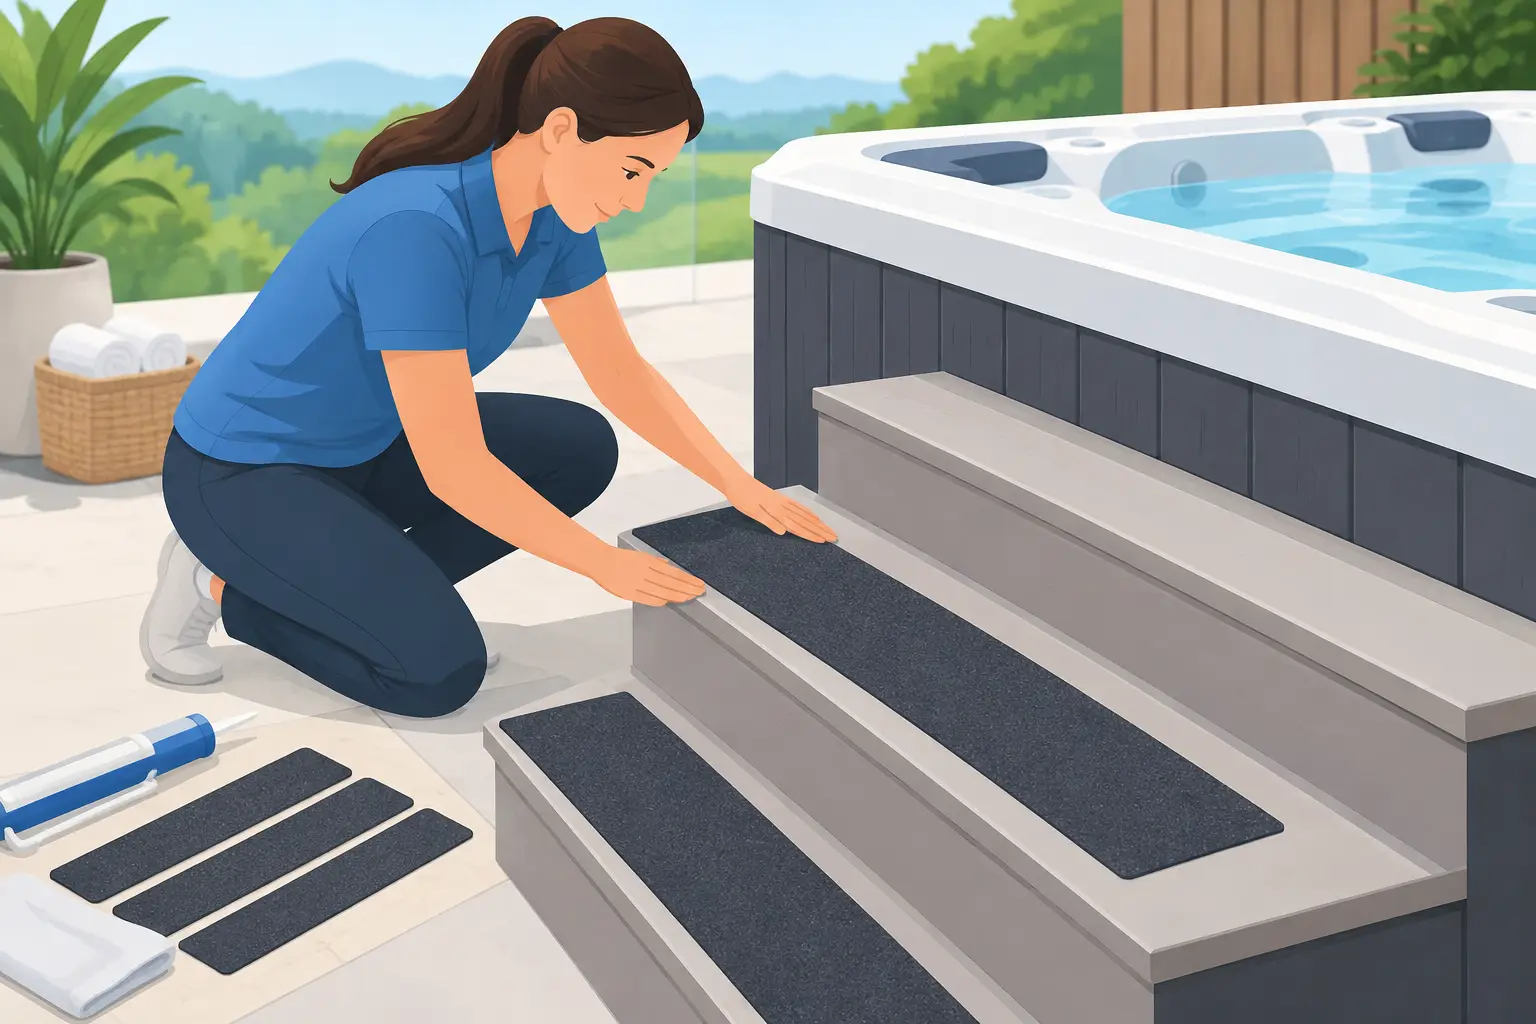
A wet spa step can turn an otherwise relaxing backyard retreat into an uncertain first step. When you install non slip spa treads correctly, you add dependable footing exactly where water, bare feet, sunscreen, and changing weather create the greatest risk. The work itself is straightforward, but the preparation determines whether the treads stay put and look appropriate on a premium spa setup.
Non-slip treads are not a substitute for a stable, properly sized set of spa steps. They are a practical finishing layer that improves grip on the stepping surface, especially for households that use their hot tub year-round, welcome guests, or want more confidence entering and exiting after a soak.
Start With the Right Type of Non-Slip Tread
Before opening an adhesive backing or reaching for a drill, confirm what type of tread you have. Most spa owners choose adhesive-backed strips, pads, or full-width tread covers designed for wet locations. These are usually the least invasive option and work well when the existing steps are structurally sound and have a flat, clean surface.
Mechanical fastener systems can provide a very secure installation, but they need more consideration. Drilling into a molded plastic step, composite shell, or furniture-grade HDPE step may affect its appearance, structural integrity, or manufacturer warranty. If your treads require screws, follow the step and tread manufacturer’s instructions precisely. Do not assume that a fastener appropriate for pressure-treated lumber is appropriate for a molded spa accessory.
Texture matters, too. Aggressive abrasive tape can offer strong grip, but it may feel uncomfortable on bare feet and can be harder to clean. Rubberized or molded traction treads are often more comfortable for frequent spa use. The best choice depends on who uses the spa, how exposed the area is to rain and snow, and whether you prioritize a low-profile appearance or maximum texture.
Inspect the Steps Before You Install Non Slip Spa Treads
A tread can improve traction, but it cannot correct a loose, uneven, or undersized step. Place the steps on their intended surface and test for movement before installation. If they rock on pavers, decking, or a concrete pad, correct the base issue first. A level, firm foundation is essential for safe entry.
Check the step surface for cracks, deep scratches, peeling coatings, and warped areas. Adhesive-backed treads need full contact with the substrate. A tread applied over a damaged or flaking finish may adhere at first, then lift along the edges as moisture works underneath.
Also consider step geometry. Leave enough visible border around each tread to preserve a clean, intentional look and to avoid wrapping material over a rounded edge. On a narrow step, a single centered strip may provide the right balance. On a broad platform-style step, two or three evenly spaced strips can create more consistent traction without making the surface look cluttered.
Clean and Dry the Surface Completely
Surface preparation is the step most often rushed and the reason many tread installations fail early. Spa steps collect body oils, airborne dust, pollen, sunscreen, water-treatment residue, and mildew. Even a surface that appears clean can carry a thin film that weakens adhesive performance.
Wash the tread area with a mild cleaner suitable for the step material. Rinse thoroughly so no soap residue remains. Follow with a clean, lint-free cloth and allow the surface to dry fully. If the tread manufacturer permits it, a final wipe with isopropyl alcohol can help remove lingering oils. Do not use harsh solvents on plastic, composite, or recycled HDPE steps unless the manufacturer specifically approves them.
Choose a dry day and work when the surface temperature falls within the tread manufacturer’s recommended range. Adhesives generally bond poorly to cold, damp, overheated, or sun-baked surfaces. If the steps are outdoors, move them into a clean garage or covered area for installation when possible. This gives you better control over dust, moisture, and temperature.
Measure the Layout Before Removing the Backing
A few minutes of layout work prevents crooked placement that becomes impossible to ignore every time you use the spa. Measure the usable depth and width of each step, then use painter’s tape to mark the tread position. Stand back and look at the spacing from several angles.
For most steps, position the tread where the ball of the foot naturally lands, rather than directly on the outermost edge. A slight setback from the front edge helps protect the tread from lifting and reduces the chance of a bare foot catching a raised corner. Keep placement consistent from one step to the next so entry feels predictable.
If you are installing several narrow strips, use a measuring tape instead of estimating gaps by eye. Small alignment differences become more noticeable on premium outdoor accessories, particularly when the step color is coordinated with the spa cabinet, surround, or nearby furniture.
Apply the Treads With Firm, Even Pressure
Once the surface is clean, dry, and marked, remove only a small section of the protective liner from the first tread. Align the exposed adhesive with your tape marks, then press it into place gradually while peeling the liner away. This approach helps prevent wrinkles and reduces the chance of laying the tread down crooked.
Apply steady, even pressure across the entire tread, working from the center toward the edges. A small hand roller is helpful if the tread manufacturer recommends one, but a clean cloth and firm hand pressure can also work well. Pay close attention to corners and ends, since these are the areas most likely to lift.
Avoid stretching flexible tread material as you apply it. A tread installed under tension may shrink back over time and pull at the adhesive. If a strip lands noticeably out of alignment, remove it immediately only if the manufacturer’s instructions allow repositioning. Trying to peel up a strongly bonded tread after it has set can damage both the tread and the step surface.
Allow Proper Cure Time
The tread may feel secure immediately, but the adhesive often needs time to reach its full bond strength. Keep the steps dry and avoid using them until the recommended cure period has passed. This may be several hours or a full day, depending on the product, temperature, and humidity.
Do not reinstall the steps beside the spa too soon if that area receives splash-out, rain, or morning dew. Giving the adhesive adequate cure time is one of the simplest ways to improve long-term performance.
Check the Installation Under Real Conditions
After curing, inspect every edge and corner. Press gently around the perimeter to confirm there are no loose sections, bubbles, or areas that shift under pressure. Then test the steps with clean, dry bare feet. The tread should feel secure and comfortable, not sharp, unstable, or uneven.
Next, test it as it will actually be used. Lightly wet the surface and step onto it carefully while holding the spa handrail or cabinet for support. You are checking for reliable traction, but also for water pooling around the tread. If water consistently collects in one area, review the level of the steps and the surrounding surface. Better drainage may be the real solution.
For households with older adults, children, or anyone with limited mobility, consider the entire path to the spa. Good lighting, a stable handhold, properly proportioned steps, and clear access around the cabinet all work together. Non-slip treads are most effective as part of that larger safety plan.
Maintain Spa Treads Without Damaging Them
Regular care keeps treads functional and preserves the refined appearance of your spa area. Rinse away dirt, leaves, and chemical splash-out as part of normal spa-side cleaning. Use a soft brush and mild cleaner when needed, rather than aggressive scrubbing pads that can wear down the traction surface.
Inspect the treads every few months and more often during periods of heavy use or freezing weather. Replace any tread that has curled edges, significant wear, cracking, or a smooth polished feel. A worn tread can create false confidence, which is worse than recognizing that a step needs attention.
If you are selecting new steps or updating an entire spa surround, build traction into the design from the start. High-quality, easy-to-maintain step materials and thoughtfully placed treads create a safer entry without compromising the tailored appearance of the space. A&B Outdoor Products can help homeowners and spa professionals coordinate functional accessories that look designed for the spa, not added as an afterthought.
A well-installed tread should quietly do its job: give every bare foot a confident landing, resist the demands of outdoor use, and let the spa area remain a place for relaxation rather than hesitation.
